If you’re wondering how to apply self tanner for a natural, streak-free glow, this guide covers everything—from tools and prep to application, contour and event-day tips.

How to Apply Self Tanner: The Ultimate Golden Goddess Guide
Imagine this: You walk into the office, the classroom, or your favourite café, and conversations pause. Someone whispers: “Where has she been…?”. Pure Serena van der Woodsen energy.
A bronzed, radiant goddess glides by – and yes, that’s you.
But the big question here is: how to apply self-tanner and not look like a dorito?
This is the complete guide to getting a perfect, streak-free, golden glow: the tools, the prep, the application, and even the secret contouring tricks that make your tan look professionally done.
Quick Start
- Choose the right products → pick the ones that align to your skin type and desired color
- Moisturize → start off with the perfect base
- Apply the product → using a mitt or a Kabuki brush
- Let it dry → use loose clothes
- Reveal → shower off and enjoy your glow
What tools do you need?
Before you start, assemble your glow kit:
- Rich moisturizing cream – A nourishing formula like CeraVe Moisturizing Cream or The Body Shop Shea Body Butter. This will be your shield against uneven absorption, especially on dry patches like elbows, knees, ankles, wrists, and armpits.
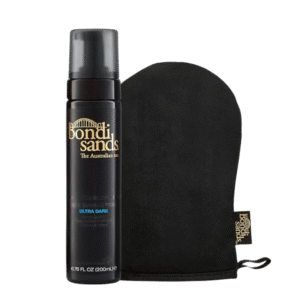
- Self-tanning mitt – For a streak-free finish. Options like Bondi Sands Application Mitt or St. Tropez Velvet Mitt give a smooth, even blend without absorbing too much product.
- Kabuki brush – A dense, soft brush like the EcoTools Kabuki Brush for blending on small or tricky areas: hands, feet, face, and décolletage.
- Rubber gloves – Wear them under your mitt to prevent stained palms and help with grip so your mitt doesn’t slip.
- Self-tanner – Mousse, foam, cream, or spray. The choice depends on your skin tone, skin type, and desired depth of colour. We’ll break this down next.
How to choose the ideal self-tanner
Choosing the wrong self-tanner can leave you with an orange undertone or patchy fade. To avoid the dreaded oompa loompa effect:
1. Skin tone & undertone
- Cool undertones → Look for tanners with a violet or cool-brown base to neutralise pink/red hues.
- Warm undertones → Opt for a golden or green base for a sun-kissed warmth.
- Olive skin → Works best with green or neutral bases for a natural olive glow.
2. Skin type
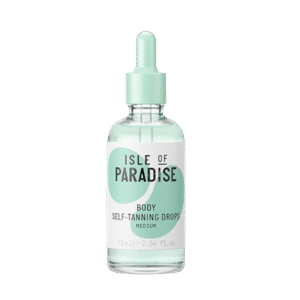
- Sensitive skin → Choose fragrance-free, alcohol-free formulas (Isle of Paradise Self-Tanning Water).
- Dry skin → Go for creamier, hydrating formulas (Bondi Sands Ultra Dark Mousse with argan oil).
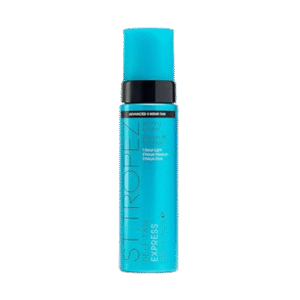
- Oily skin → Lightweight foams or waters will feel fresher and absorb faster. (St. Tropez Self Tan Express Mousse).
*Product picks above include affiliate links
3. Desired depth of colour
- For first-timers, less is more. Start with light/medium or an express formula (1–3 hours) so you can control the result.
- If you want a deep tan, look for “Ultra Dark” shades but be sure your undertone matches.
Pro Tip: Check the DHA % – it’s the active tanning ingredient. High-quality tanners use refined DHA for even fading.
Now that we all officially hold a Master’s degree and a PhD in Self-Tanning Products, it’s time to put that knowledge into action. We’re moving from theory to practice — from knowing what to buy to learning exactly how to apply it for a seamless, sun-kissed glow.
Step 1: Moisturize
Your prep starts in the everything shower: exfoliate (especially knees, elbows, and ankles), shave if needed, and finish with cool water to close pores.
After patting your skin dry, apply body lotion generously. On extra dry or high-movement areas (wrists, neck, elbows, knees), layer a thicker balm like Palmer’s Cocoa Butter to prevent over-absorption.
When your skin feels soft, supple, and slightly glazed, you’re ready to glow.
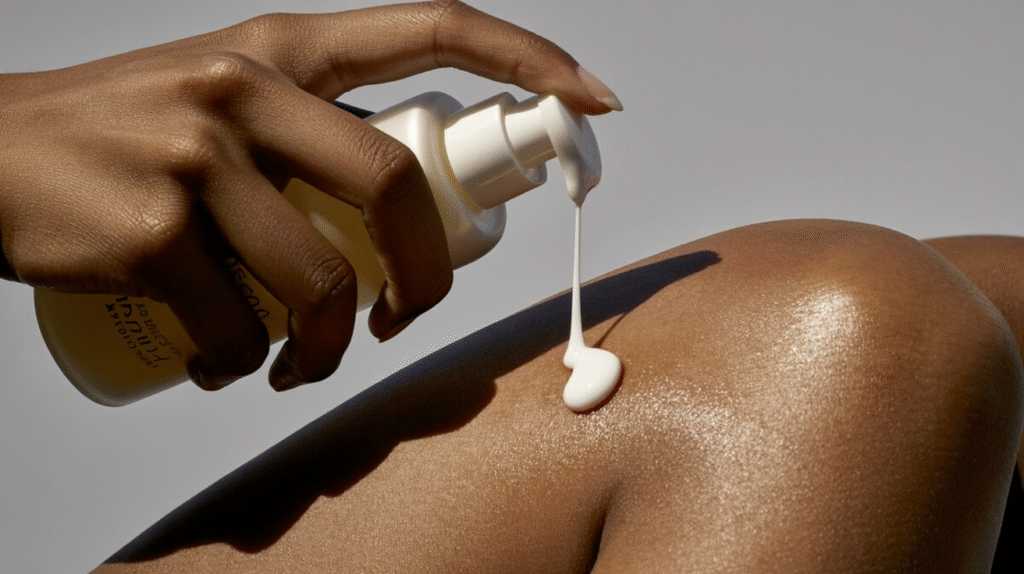
Step 2: Apply the product
- Apply about a golf ball size of product per large area (leg, arm, torso).
- Start at your legs and work your way upwards – bending down later can crease the product in your stomach area.
- Use long, sweeping motions for limbs and circular motions for joints to ensure an even blend.
Hands & feet → Switch to your kabuki brush for precision. Blend lightly over the top of hands/feet, then clean nails and cuticles with a Q-tip.
Face → Opt for a facial-specific tanner like St. Tropez Purity Bronzing Water Face Mist for a subtle, even tone.
Pro Tip: Rest your mitt on a towel between pumps to avoid staining your counters.
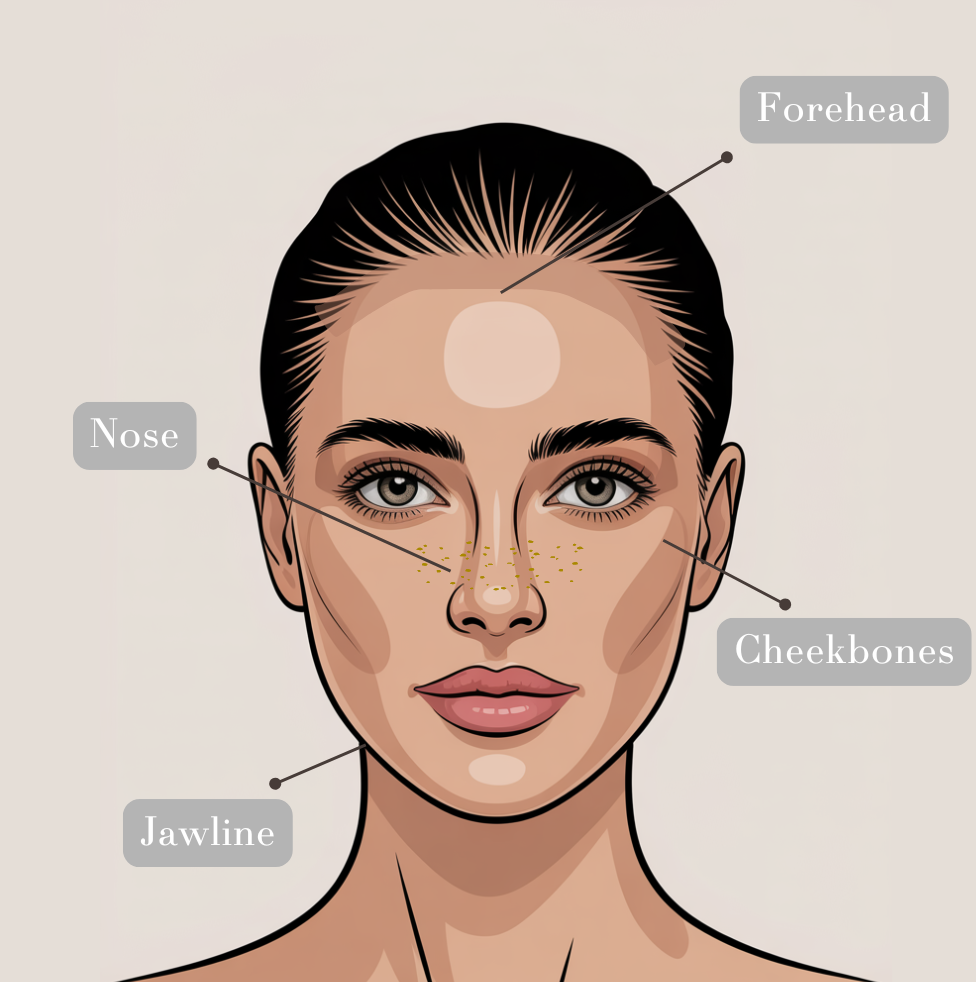
Optional: Face and body contour
If you want the ultimate supermodel contoured complexion, you can use self-tanner to bronze up and illuminate strategic areas such as the cheekbones, the bridge of the nose, along the jawline, and across the forehead.
This technique adds dimension, warmth, and a naturally defined look — without a single swipe of powder bronzer.
- Cheekbones → Apply a small amount under the bone and blend upward.
- Jawline → Trace along the jaw for definition.
- Nose → Lightly sweep down the sides for a slim effect.
- Forehead → Add warmth along the hairline.
For faux freckles: mix a drop of tanning water like Isle of Paradise Dark Drops with a small brush and dot lightly, blending with fingertips.
Step 3: Let it dry
Congratulations, for some minutes you’ll be the most vulnerable version of yourself.
Just kidding (partly).
- Wait at least 10 minutes before dressing.
- Choose loose, dark clothes to avoid rubbing.
- Avoid crossing your legs or leaning your arms on surfaces to prevent transfer.
If sleeping in your tan, use dark bedding or a tan-protective sheet.
Step 4: Rinse and reveal your glow
Once the development time is up, shower in lukewarm water without soap for the first rinse. Let the water run until clear, then gently pat dry.
Pro Tip: Moisturize daily to prolog your glow and avoid patchiness.
And with that… you’re officially Victoria’s Secret runway ready! Your skin is glowing, your application is flawless, and you’ve mastered the art of self-tanning.
But if we really want to level up to pro status, there are a few insider considerations that can take your glow from amazing to absolutely unforgettable.
How to apply self-tanner for an event
If your glow is for a special occasion, plan ahead:
- Tan 2 days before so the colour settles naturally.
- Match the depth of your tan to your outfit:
- Bright colours (hot pink, red) → Medium tan to avoid overpowering.
- White/cream → Soft golden glow for elegance.
White clothes & self-tanner: yes or no?
The short answer is: yes.
After rinsing, your tan won’t transfer. The risk comes with instant bronzing creams (Vita Liberata Body Blur) which can stain – save those for short-term wear and avoid white or light fabrics.
Last touches
Now that we know how to apply self tanner like a Pro, let’s speak about health. SPF is non-negotiable – self-tanner does not protect from UV damage. Use SPF+50 (La Roche-Posay Anthelios Ultra Light Fluid) daily.
Avoid long hot showers and harsh scrubs to keep your glow longer.
For a quick boost before heading out, use a gradual lotion like the Bondi Sands Everyday Gradual Tanning Milk to refresh your colour.
Looking for more goodies to look and feel amazing? Check my favourites!
Plan your week with the free 7-Day Glow-Up Printable—perfect before an event.